Enable Font Size Menu in TinyMCE WordPress (Easy)
Using WordPress?
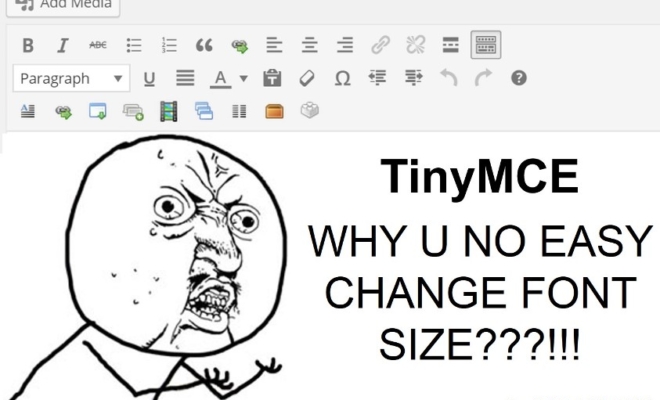
Noticed something missing while editing content?
I did too, and it annoyed the hell out of me, considering how the ability to change font sizes was supposed to be one of the basic features of a text editor. What annoyed me even further was that when I tried to use html workarounds, wordpress would automatically remove it from the text.
I mean, I love WordPress and TinyMCE, the What You See Is What You Get (WYSIWYG) text editor that’s now built into WordPress, but come on.
Apparently, the feature IS available in TinyMCE, but activating it usually entails playing around with the codes of the editor.
Damn it. I thought the folks at Automattic are trying to make WordPress more user-friendly, not more complicated.
Alright Aaron. I get it. You’re annoyed. Now help me out here.
Ok. Sorry.
I’d rather not play with codes whenever possible. After some searching, I’ve found much a simpler way to make the change. All you need is a simple little plugin.
So, here’s how to enable the font size menu in WordPress’ TinyMCE Editor in 3 easy steps:
1. Get the plugin – TinyMCE Advanced
I’m going to assume that you’re capable of installing your own plugins in WordPress.
Just install and activate the plugin TinyMCE Advanced. This plugin allows you to easily enable advanced featured within TinyMCE without touching any code.
2. Enable the Font Size Dropdown Menu
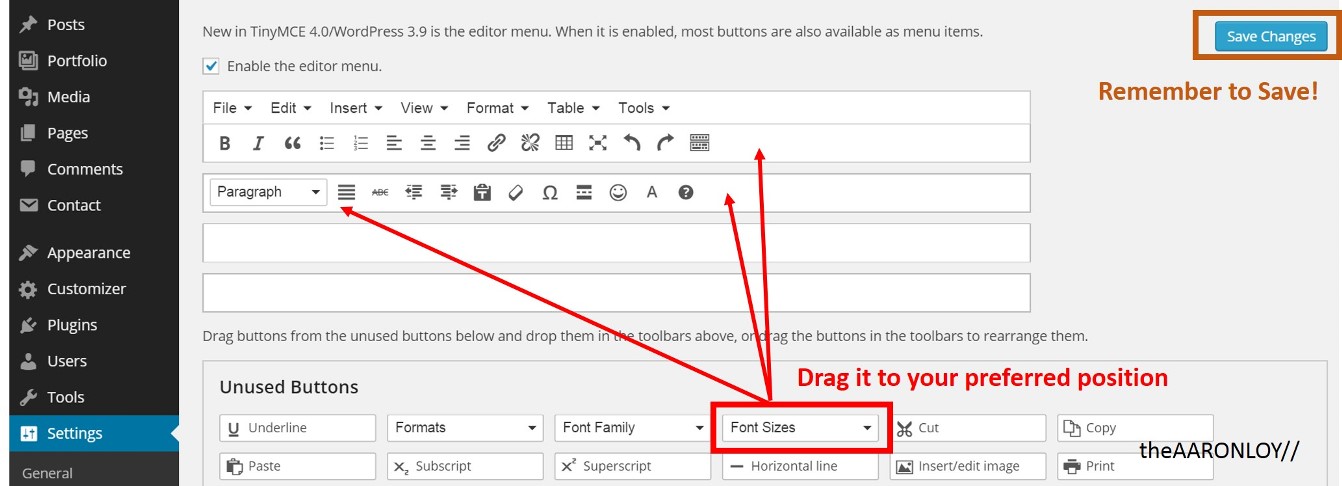
Go to Settings -> TinyMCE Advanced
You should see 2 areas, the top half that shows the current TinyMCE menu layout, and a bottom half that shows ‘Unused Buttons’ and within it, the elusive ‘Font Sizes’ menu.
All you need to do is drag the ‘Font Sizes’ menu into the toolbars above. Place it anywhere you want. You can also drag and drop the positions of all the other buttons to placate your OCD tendencies.
Remember to save your changes with the button at the top right!
3. Voilà!
Fire it up by opening an existing post/page to make sure it’s working.
Enjoy!
Note – Wordpress was version 4.1.1 at the time of writing .